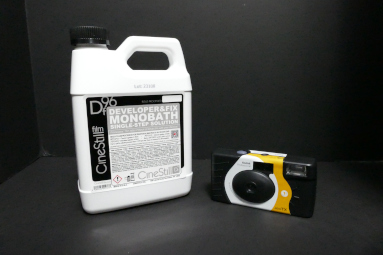
It took a long time but I finally got film developed. To start my analog journey, I got a disposable Fujifilm Quicksnap camera and sent to a photography studio for processing.
Question: Why did I start with a disposable camera?
Answer: I did it for the quick win.
Argus seventy-five
I have black and white film that I need to process from the Argus but I want to process at home when I get film chemistry. It is a special little camera, and I want to develop the first film as a right of passage.
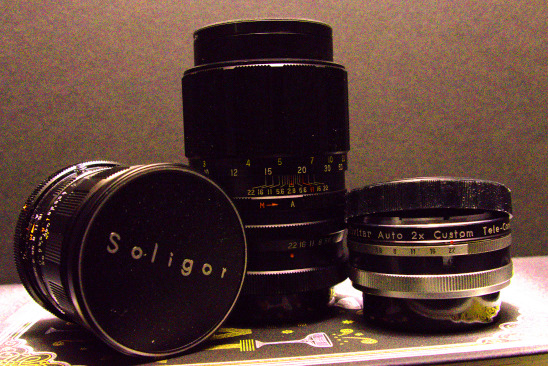
Canon FT
I have made some film loading mistakes with this one. However, I believe I have gotten the process down pat and should be able to get a full roll of film complete in the near future.
FujiFilm Quicksnap
I acquired two Quicksnaps and got 54 exposures between them. Unfortunately, I did drop the camera and also place in my pocket which resulted in a few blank images. My mistake. Next time I will be more careful.
Lomography Digitaliza Max
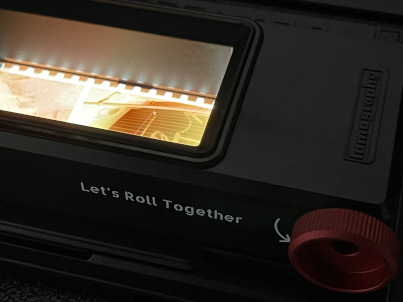
Even though the photography studio did provide prints of photos, I wanted to have a way to scan my own images and print at home for future work. The Lomography digitaliza Max was a good option for me and proved to be worthwhile.
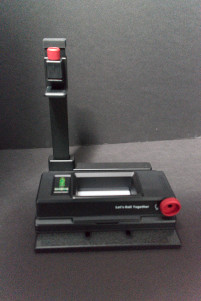
It is a very simple setup. Load the film into one side, and use the wheel to slowly propel over the backlight display window. Eventually, the film makes it’s way out of the other side.
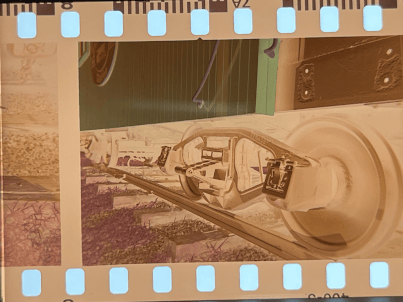
The Negative
The Studio returned the negatives in a canister. I cut the negatives in groups of 5 and placed in an archive sleeve. I will need to practice more and make sure camera and slides are aligned correctly.
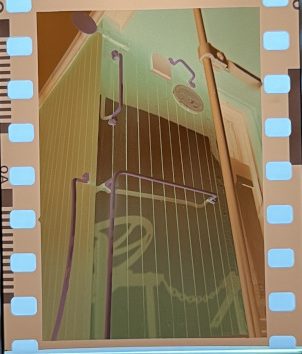
Processing in GIMP
I am new to scanning film negatives and needed to do research to understand how to digitize using GIMP. In summary, I did the following:
- Adjusted White Balance
- Inverted
- Modified Color Temperature
- Increase Saturation
- Changed contrast
These updates yielded:
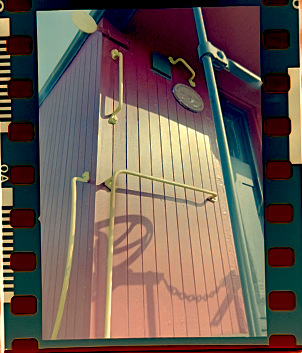
A good start, but more work needed. To see the printed version of this from the Studio, visit the Film Gallery.